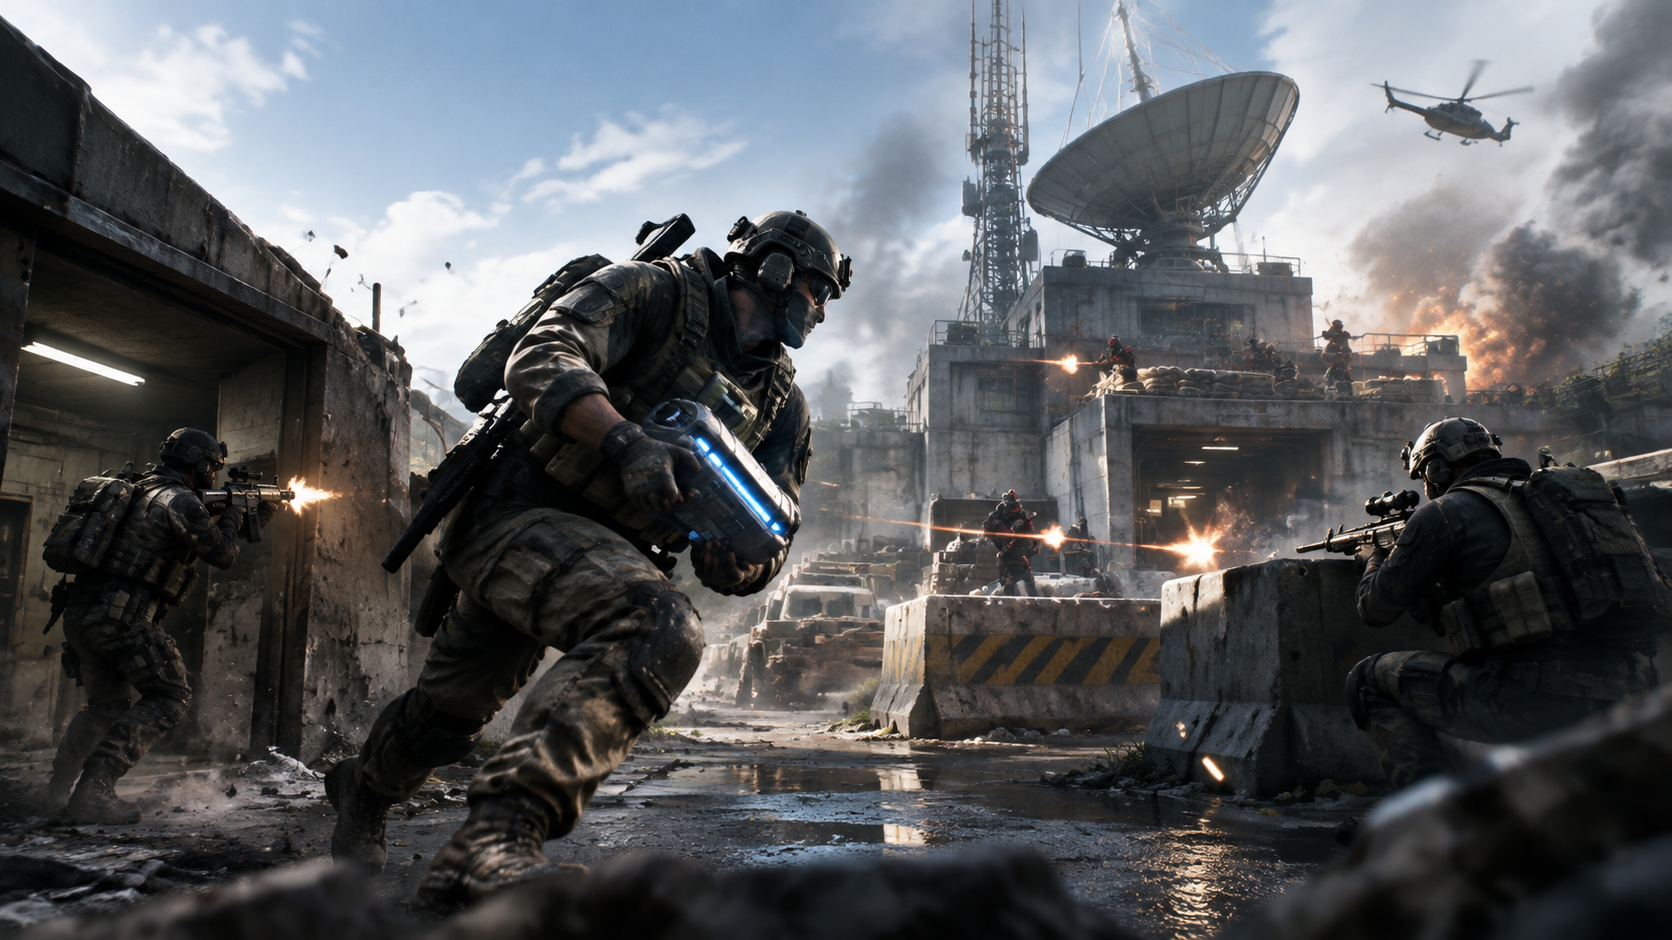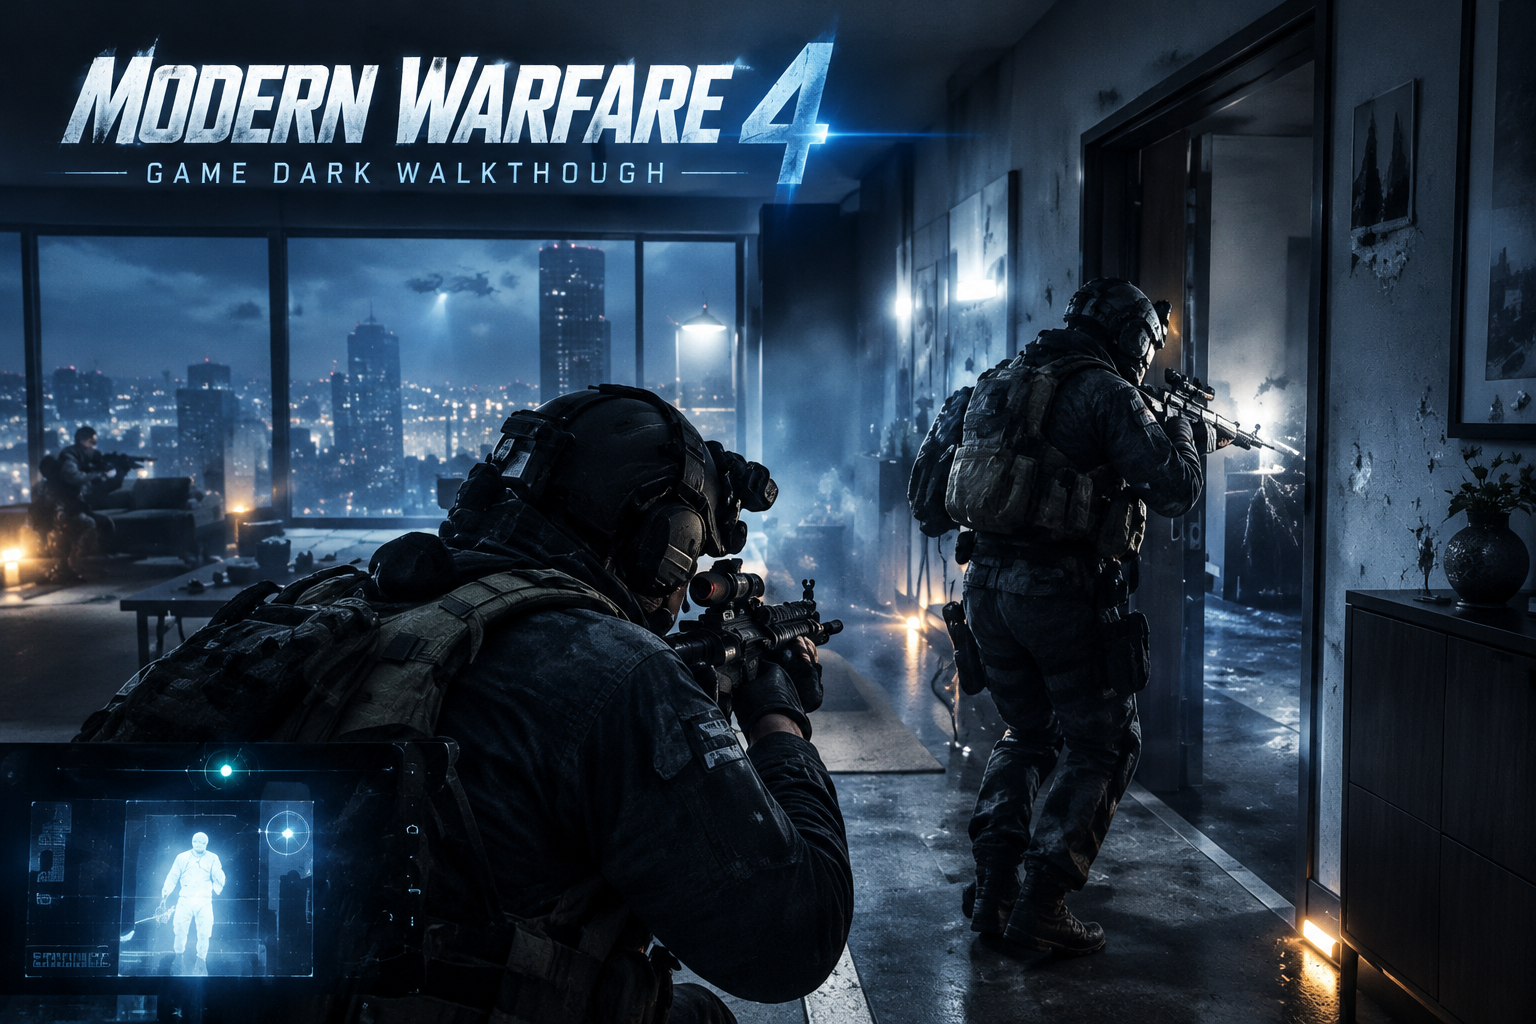
Gone Dark is Mission 7 of the Modern Warfare 4 campaign, taking place in Mumbai after Traffic and before Assassins. The mission switches between Price and Gaz and changes its combat style several times, moving from a fast rooftop escape to a blackout assault inside a high-rise before ending with close-range combat.
There isn’t a complicated open-area route to solve. The main challenge is recognizing when the mission wants you to keep moving and when it rewards slower, controlled play.
Escape Through Mumbai as Price
The opening section begins with Price, Valeria, and Eduardo attempting to escape after their convoy is attacked. Follow Valeria through the alleys rather than staying behind to eliminate every enemy.
The route takes you through buildings and across rooftops, with climbing and mantling sections connecting each area. Enemies will pressure you along the way, but most encounters are there to slow your escape rather than turn the area into a full combat arena.
Keep Your Momentum on the Rooftops
Several rooftop crossings require enough forward momentum to clear the gap. Give yourself room to sprint before jumping instead of approaching the edge slowly.
Use nearby structures as cover when incoming fire becomes too heavy, but don’t remain stationary longer than necessary. If enemies are covering your landing point or directly blocking the route, deal with them first and then continue following Valeria.
A reliable approach is:
- Follow Valeria through the alleys and interiors.
- Use the available climbing points to reach the rooftops.
- Clear enemies that directly block the route.
- Build speed before longer rooftop jumps.
- Keep moving toward the workshop instead of extending optional firefights.
This section rewards momentum. Trying to clear every hostile before advancing usually exposes Price for longer without helping the objective.
Trigger the Blackout
The escape eventually leads to a workshop containing the package Price and Valeria are transporting. Follow the objective prompts and pass the device to Valeria.
Its activation triggers an electromagnetic pulse that cuts power across the surrounding area and disables the pursuing helicopter. The mission then switches control from Price to Gaz.
This transition also changes how you should play. The fast movement of the opening section gives way to a much more deliberate close-quarters assault.
Clear the Helipad as Gaz
Gaz begins the next section with Ghost and the SAS assault team approaching the high-rise. Use the hybrid thermal night-vision equipment to identify enemies around the helipad before the team inserts.
Once the landing area is secure, follow the squad onto the building and reach the rappel point. From here, the mission starts moving downward through balconies and interior rooms.
Thermal visibility gives you an advantage in the blackout, but it doesn’t make aggressive pushes safe. Keep track of friendly operators and confirm targets before firing.
Work Through the High-Rise Room by Room
Inside the building, stay relatively close to Ghost and the rest of the team. The route passes through confined spaces such as dining areas, kitchens, corridors, and other furnished rooms where enemies can appear at short range.
Treat every doorway as a new engagement. Check the immediate angle first, clear visible threats from cover, and only move deeper once you have enough information about the room.
Use Flashbangs Before Risky Entries
Flashbangs are useful when several enemies are holding a compact interior space. Throw one through the doorway before exposing Gaz, then use the opening to enter and clear the room.
Thermal vision can help locate enemies in the darkness after entry, but solid cover still matters. Doorframes, walls, and heavy furniture give you safer positions than standing in the middle of a room.
The safest rhythm is simple: identify the threat, engage from cover, check the next angle, and move with the team.
Fight Ghost as Price
Later in the mission, control switches back to Price. Ghost confronts him, and the encounter turns into close-range melee combat.
This fight depends more on defensive timing than aggressive button presses. Watch Ghost’s attack animation, defend as the strike comes in, and use the opening to counter.
How to Handle the Melee Sequence
- Watch Ghost instead of attacking immediately. His movement gives you the information needed to time your defense.
- Block or parry incoming strikes. A properly timed defense creates an opportunity to respond.
- Counter after the opening appears. Don’t continue attacking blindly once Ghost recovers.
- React to contextual prompts. Complete the displayed melee and takedown actions when the sequence requires them.
- Reset your timing if necessary. Patient defensive play is more reliable than repeatedly forcing attacks.
The confrontation later expands to involve Gaz. Continue following the required combat prompts rather than searching for another route around the encounter.
Complete the Archer Handoff
After the melee section, Valeria’s forces take control of Gaz and Ghost while Price continues toward the meeting with Archer.
This final part is largely scripted. There isn’t an alternate route that changes the outcome of the exchange, so follow the objective and allow the sequence to play out rather than searching the area for another solution.
Completing Gone Dark awards the Gone Dark Emblem as part of the Modern Warfare 4 campaign reward sequence.
Gone Dark Quick Route
For repeat runs, remember that each part of the mission rewards a different pace:
- Mumbai escape: Keep moving and fight only when necessary to open the route.
- Rooftop traversal: Preserve sprinting momentum before longer jumps.
- Blackout assault: Use thermal vision to identify threats before entering rooms.
- High-rise interiors: Stay near the squad and clear one space at a time.
- Ghost fight: Defend, counter, and follow contextual melee prompts.
- Archer sequence: Follow the scripted objective rather than searching for an alternate outcome.
Players primarily focused on Multiplayer or DMZ progression may also encounter searches around MW4 DMZ Leveling Boosting, but Gone Dark itself is a campaign mission rather than a DMZ leveling method. Treat the mission as a campaign completion objective and keep DMZ progression strategies separate.
The same distinction applies to CoD 23 Bot Lobbies. That term belongs to a different progression intent and doesn’t change how Gone Dark works, so there is no gameplay reason to build the walkthrough around it.
For a cleaner replay, use speed only during the Mumbai escape. Once control switches to Gaz, slow the pace and clear the high-rise methodically; when control returns to Price, stop relying on gunfight habits and focus on defensive timing. That change in tempo is the key to completing Gone Dark consistently.