There’s something uniquely satisfying about using gravity-based tools in Elden Ring’s PvP scene, especially in the latest DLC areas where tight corridors, layered platforms, and unexpected cliff edges create perfect opportunities for creative plays. After watching ChaseTheBro’s invasion session focused entirely on gravity weapons, I wanted to break down the core strategies behind this style and help players understand how to make it work consistently in real matches. Think of this as a grounded, player-focused guide rather than a flashy showcase—something you can actually apply the next time you step into someone’s world.
Why Gravity Builds Are So Effective
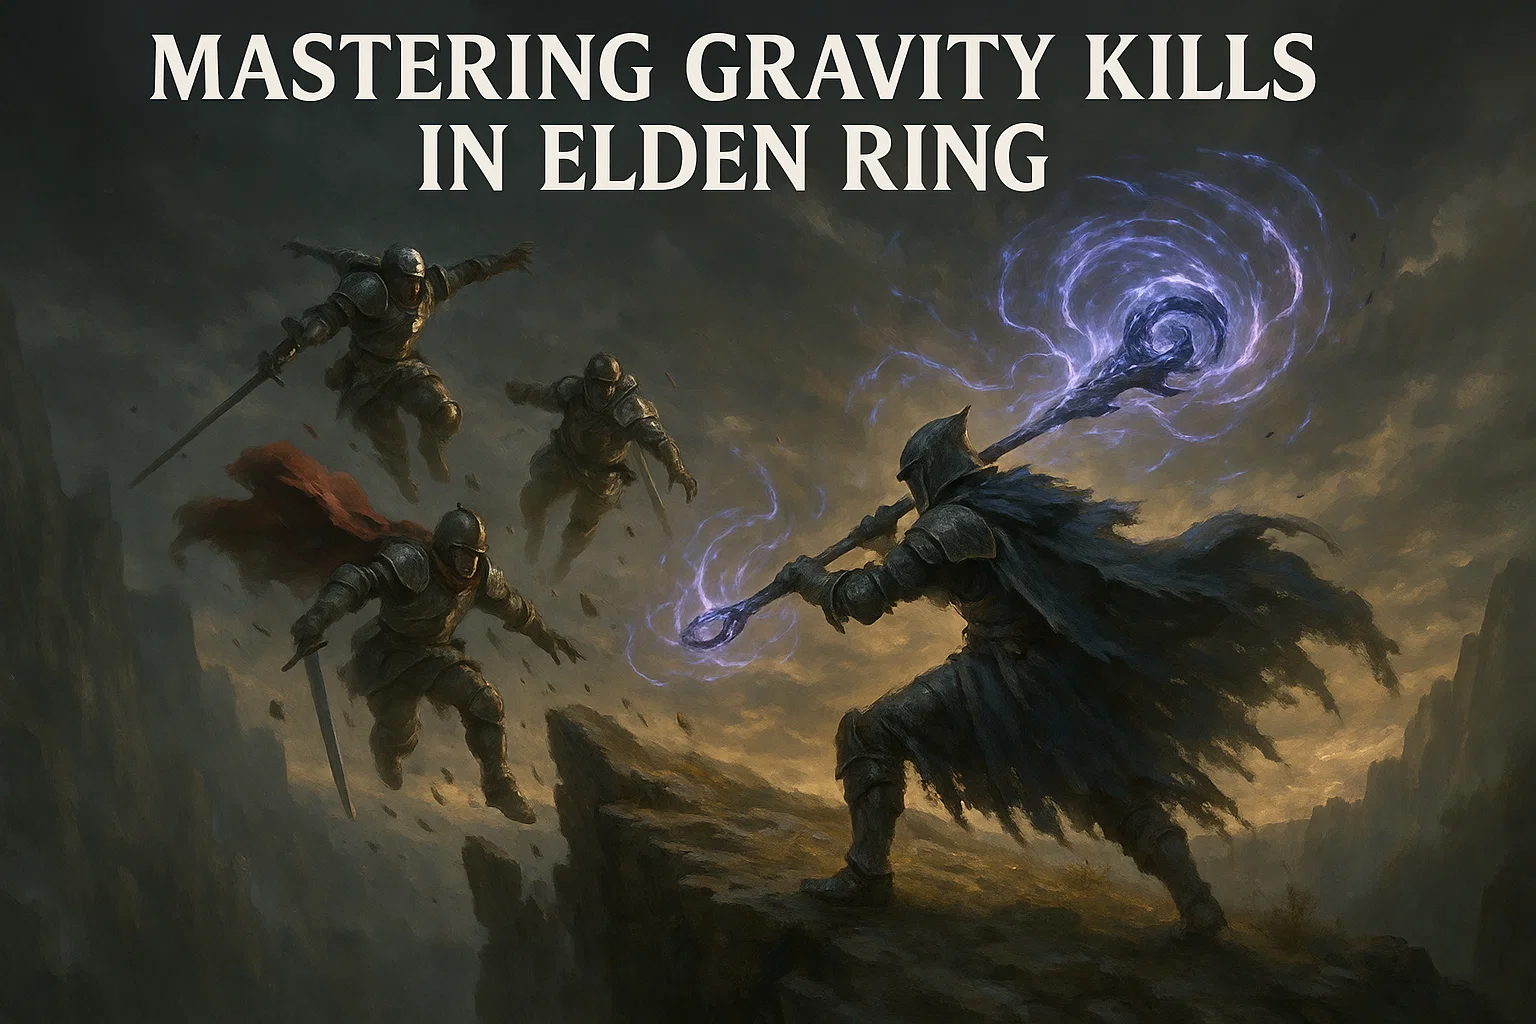
The appeal of gravity setups is simple: they give you control. While most builds trade hits or rely on spacing, gravity weapons let you dictate where the fight goes—literally pulling enemies off balance, out of position, or straight off a ledge. The Fallingstar Beast Jaw gives you long-range punish options, the Ruins Greatsword can demolish groups in tight hallways, and the Starscourge Greatsword can completely flip a fight if a cliff is nearby. These moves hit hard, but more importantly, they create moments other players rarely expect.
The result is a build that doesn’t just win fights; it shapes them. And if you’re invading, that kind of control is priceless.
Building Around Gravity Damage
A core part of the featured build is a Strength-heavy stat spread with enough Intelligence to meet weapon requirements. This lets the player maximize heavy hits and Ashes of War while keeping the gravity mechanics active. Since most gravity weapons scale best with Strength anyway, focusing your points there just makes sense. Armor choices are flexible, but poise helps more than you might think—especially when trading hits before landing a big pull or explosion.
Talismans like Shard of Alexander, Two-Handed Sword Talisman, and general utility options round out the setup. Nothing in this loadout is unusual, but it’s built to do one thing well: hit hard and create pressure.
In situations where farming resources is part of your progression, some players look for ways to speed up their preparation. That’s usually where the option to buy elden ring runes comes up, especially for newcomers who want to try advanced builds quickly. Whether players use that route or not, the important thing is understanding how these builds work once you’re in an invasion.
Learning to Read the Map
Gravity builds shine brightest in areas with elevation changes—Think Crumbling Farum Azula, Shadow Keep, or any zone with narrow walkways and sudden drops. In the gameplay session, Chase constantly scanned for angles, trees, cliffsides, and uneven platforms that could turn a small pull into an instant kill. Watching him “herd” enemies without them realizing it is a reminder that positioning is half the battle.
One of the biggest takeaways is patience. You don’t always need to force the kill. Sometimes a bit of long-range pressure or a feigned retreat is enough to lure players into exactly the wrong place. Even in situations where a gravity kill isn’t possible, the toolkit still hits hard enough to finish fights normally.
If you’re a newer player working your way through tough content, gathering elden ring runes naturally is still the safer long-term route. But learning enemy movement and positioning is what will actually make you stronger, especially in PvP where map knowledge matters as much as raw stats.
Choosing the Right Weapon for the Moment
The build rotates between several gravity tools, each used for a different purpose:
• Fallingstar Beast Jaw for long-range pokes
• Ruins Greatsword for explosive close-quarters fights
• Starscourge Greatsword when cliffs are nearby
• Gravity bolt or gravity wave to interrupt momentum
What’s interesting is how frequently momentum shifts during an invasion. One moment the fight looks clean and straightforward, the next you’re standing on a tree trunk trying to angle a pull while enemies scramble below you. Flexibility is essential. If something isn’t working—swap, reposition, or switch tactics entirely.
Chase also demonstrates how useful unpredictable weapon swaps can be. Holding a dagger for Endure and suddenly switching to Starscourge just as an enemy approaches a ledge is the kind of trick that wins fights before they even begin.
Some players like pairing these builds with reliable marketplaces such as U4GM when they want quick access to certain gear. While that’s an option, the core gameplay still depends on movement, timing, and knowing when to pull or punish. No shortcut replaces that experience.
Mastering Gravity Timing and Player Behavior
A big part of gravity combat is understanding how players react. Most will panic-roll at the sight of a charged pull or explosion, and that instinct makes them much easier to catch. Once you learn the rhythms—roll timing, panic behavior, and how players path around danger—you’ll start landing hits you used to miss completely.
If you’re getting ganked, gravity builds can actually help you break away from pressure. Tools like Waves of Darkness or gravity wave create breathing room and interrupt groups long enough to reposition. This makes the build surprisingly durable even when outnumbered.
Gravity pull wake-ups, delayed swings, and neutral jumps all play a part in adding unpredictability. With enough practice, these options feel like second nature.
Gravity builds aren’t just strong—they’re playful, stylish, and genuinely fun. They reward creativity more than raw aggression, and once you understand how to control space, you’ll start seeing opportunities everywhere. Whether you’re practicing in PvP or experimenting in new DLC areas, the gravity toolkit gives you a fresh way to experience invasions.
If you enjoy builds that mix utility, power, and a bit of chaos, this is easily one of the most entertaining playstyles in the game.